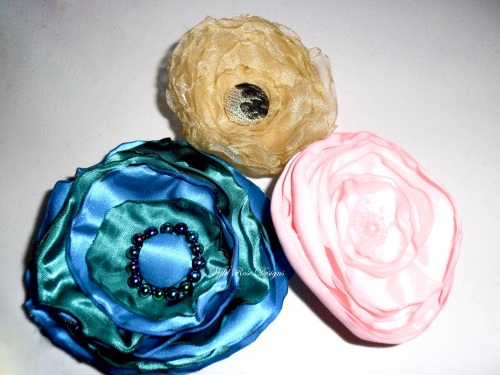
Making a corsage flower
Posted on
It's the little things that can make all the difference, turning a plain and simple bag or dress into something really special. So here is a short tutorial on making a simple corsage flower.
This method involves heat curling the fabric petals and so you must use a synthetic fabric, natural fibres will just burn.
First choose your fabric, there are lots of different types of synthetic materials, and they all react to heat slightly differently. Some will require more heat than others.
Next cut out your 'petals'. These need only be a simple circle or oval. You can draw around a template or just cut freehand, which often results in a more natural shape. You will need several of the petals in different sizes, usually 6 - 12, depending on how full you want your flower to be.
The next step involves heat curling the edges. To do this, hold the petal over a lit tea light using a pair of tweezers or something similar, (I use small wooden tongs) as you don't want to burn your fingers. Be careful not to hold it too close to the flame as you only want to seal the edges not incinerate them! You can just seal the edges which will result in a flatter petal, or hold it there a bit longer to really curl them.
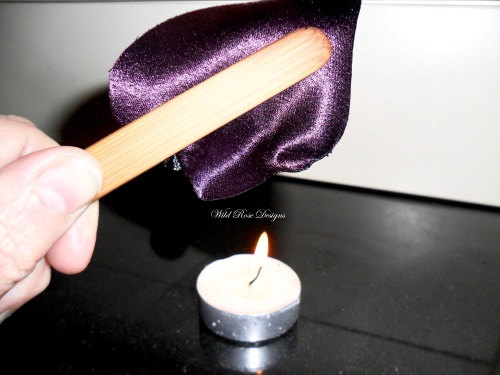
You will probably make a better job of it than I did in this picture as I was using my left hand and taking the photo with my right.
When you have finished, you should have a selection of different sized petals.
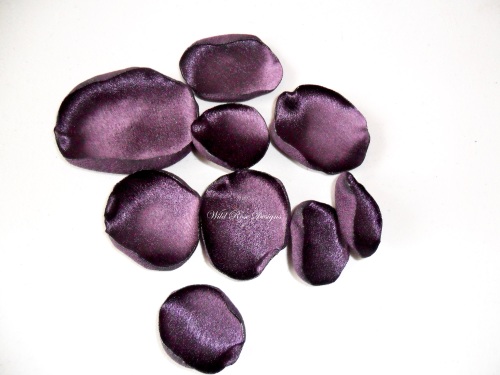
Now stack your petals to get your desired shape and fullness.
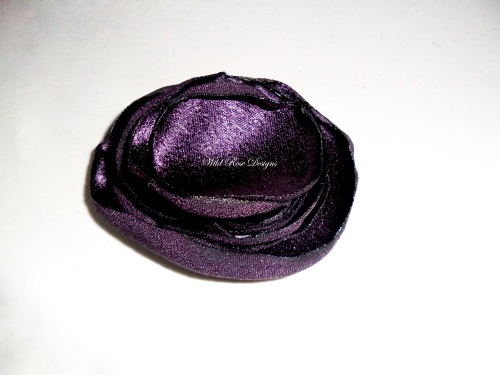
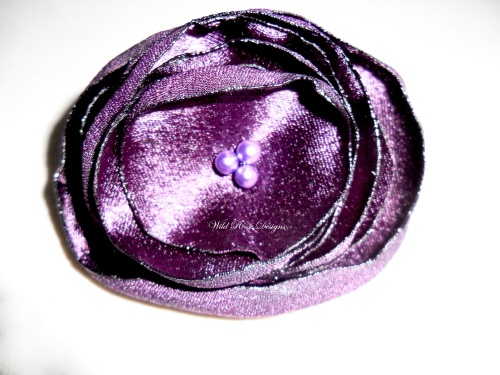
Now you can glue and/or sew the layers together and add your beads, buttons, sequins or other trims to the centre.
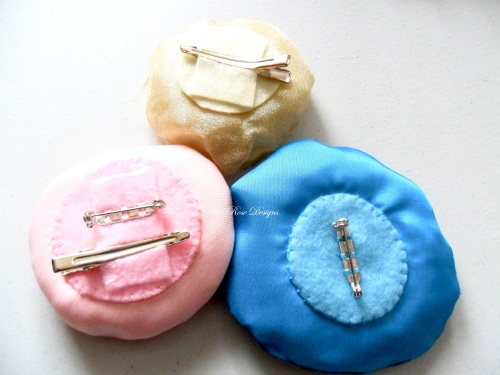
Next you need to add your fixings to the back. I cut out a circle of felt in the same colour and attach the fixing, ie: brooch pin or hair clip. I usually glue and sew. Then glue and sew the felt circle to the back of your flower.
Et voilà! A beautiful handmade corsage!
